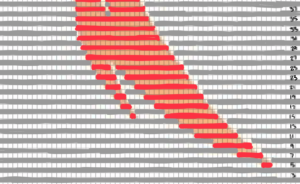
How do you design the chart for shadow knitting? Check out this blog post to find out!
Now that you have your chart all figured out, it’s time to knit! I would definitely recommend planning on a very forgiving project, like a blanket, that doesn’t have to be an exact size.
Take a look at your chart, and cast on the number of stitches you’ve planned out. I started with the contrast color (CC) if that helps. But you could start with the main color (MC) if you wanted to.
(RS) Row 1: Knit across in CC
(WS) Row 2: Purl across in MC
Row 3 and all following RS rows: Knit across in CC
Row 4 and all following WS rows: Purl across in MC
Continue until you’ve reached the shape in your chart, ending on a WS row.
Now comes the fun part! Knit the RS in pattern, except for the stitches that you’ve marked as part of the design. Each of those stitches will be purled instead. For example, from this chart, Row 5 would be: K5, P2, K across in CC.
For WS rows, you’ll do the same thing, but in reverse: Purl across in pattern with MC, except for when you get to stitches that are part of the design. Those stitches will be knit (this helps the RS purl bumps stand out a little more).

Once you’ve done a few rows, the pattern starts falling into place. It’s pretty satisfying to watch happen!
